

13 Pottery Surface Decorating Techniques + A Glittery Bonus!
From carving to slip trailing, wax resist, and more! Read on for a list of 13 pottery surface decorating techniques from the classical to the contemporary (in alphabetical order)… and a glow in the dark glittery bonus!
1. Carving

Give your piece texture with intentional carvings.
Want some reasons to carve? I discuss my top 3 reasons here.
Unsure what carving tools to use? I’ve got some recommendations.
And check out this video for my trick for a steady carve!
2. Custom Vinyl Resist

Create your own designs with custom made vinyl stickers!
To make your own vinyl stickers for ceramics, design a high-contrast black-on-white image in a drawing app (like Sketchbook Pro), cut it with a vinyl cutter (like Cricut Explore 3), and apply it to leather-hard greenware with slip or to bisqueware with glaze, removing the vinyl once the surface has partially dried.
3. Luster

Want to put some bling on it? How about adding a little gold!
This unicorn’s horn is covered in white gold. Extra magical!
Luster in pottery refers to a type of metallic coating applied to ceramic surfaces, typically as a final decorative layer. Luster contains metallic compounds and comes in white gold and bright gold. You can get a Duncan Luster set here (update: while it lasts! Duncan has discontinued it’s Luster line).
The application process involves careful brushwork or spraying onto a glaze-fired ceramic surface before a special luster firing that allows the metallic compounds to bond with the pottery's surface, resulting in the characteristic lustrous finish. The pieces are then fired to Cone 019 to get the shiny finish.
Warning: The smell of luster can be quite strong, so I recommend wearing a respirator or working in a well ventilated space (or outdoors). Pieces with luster are also not microwave safe!
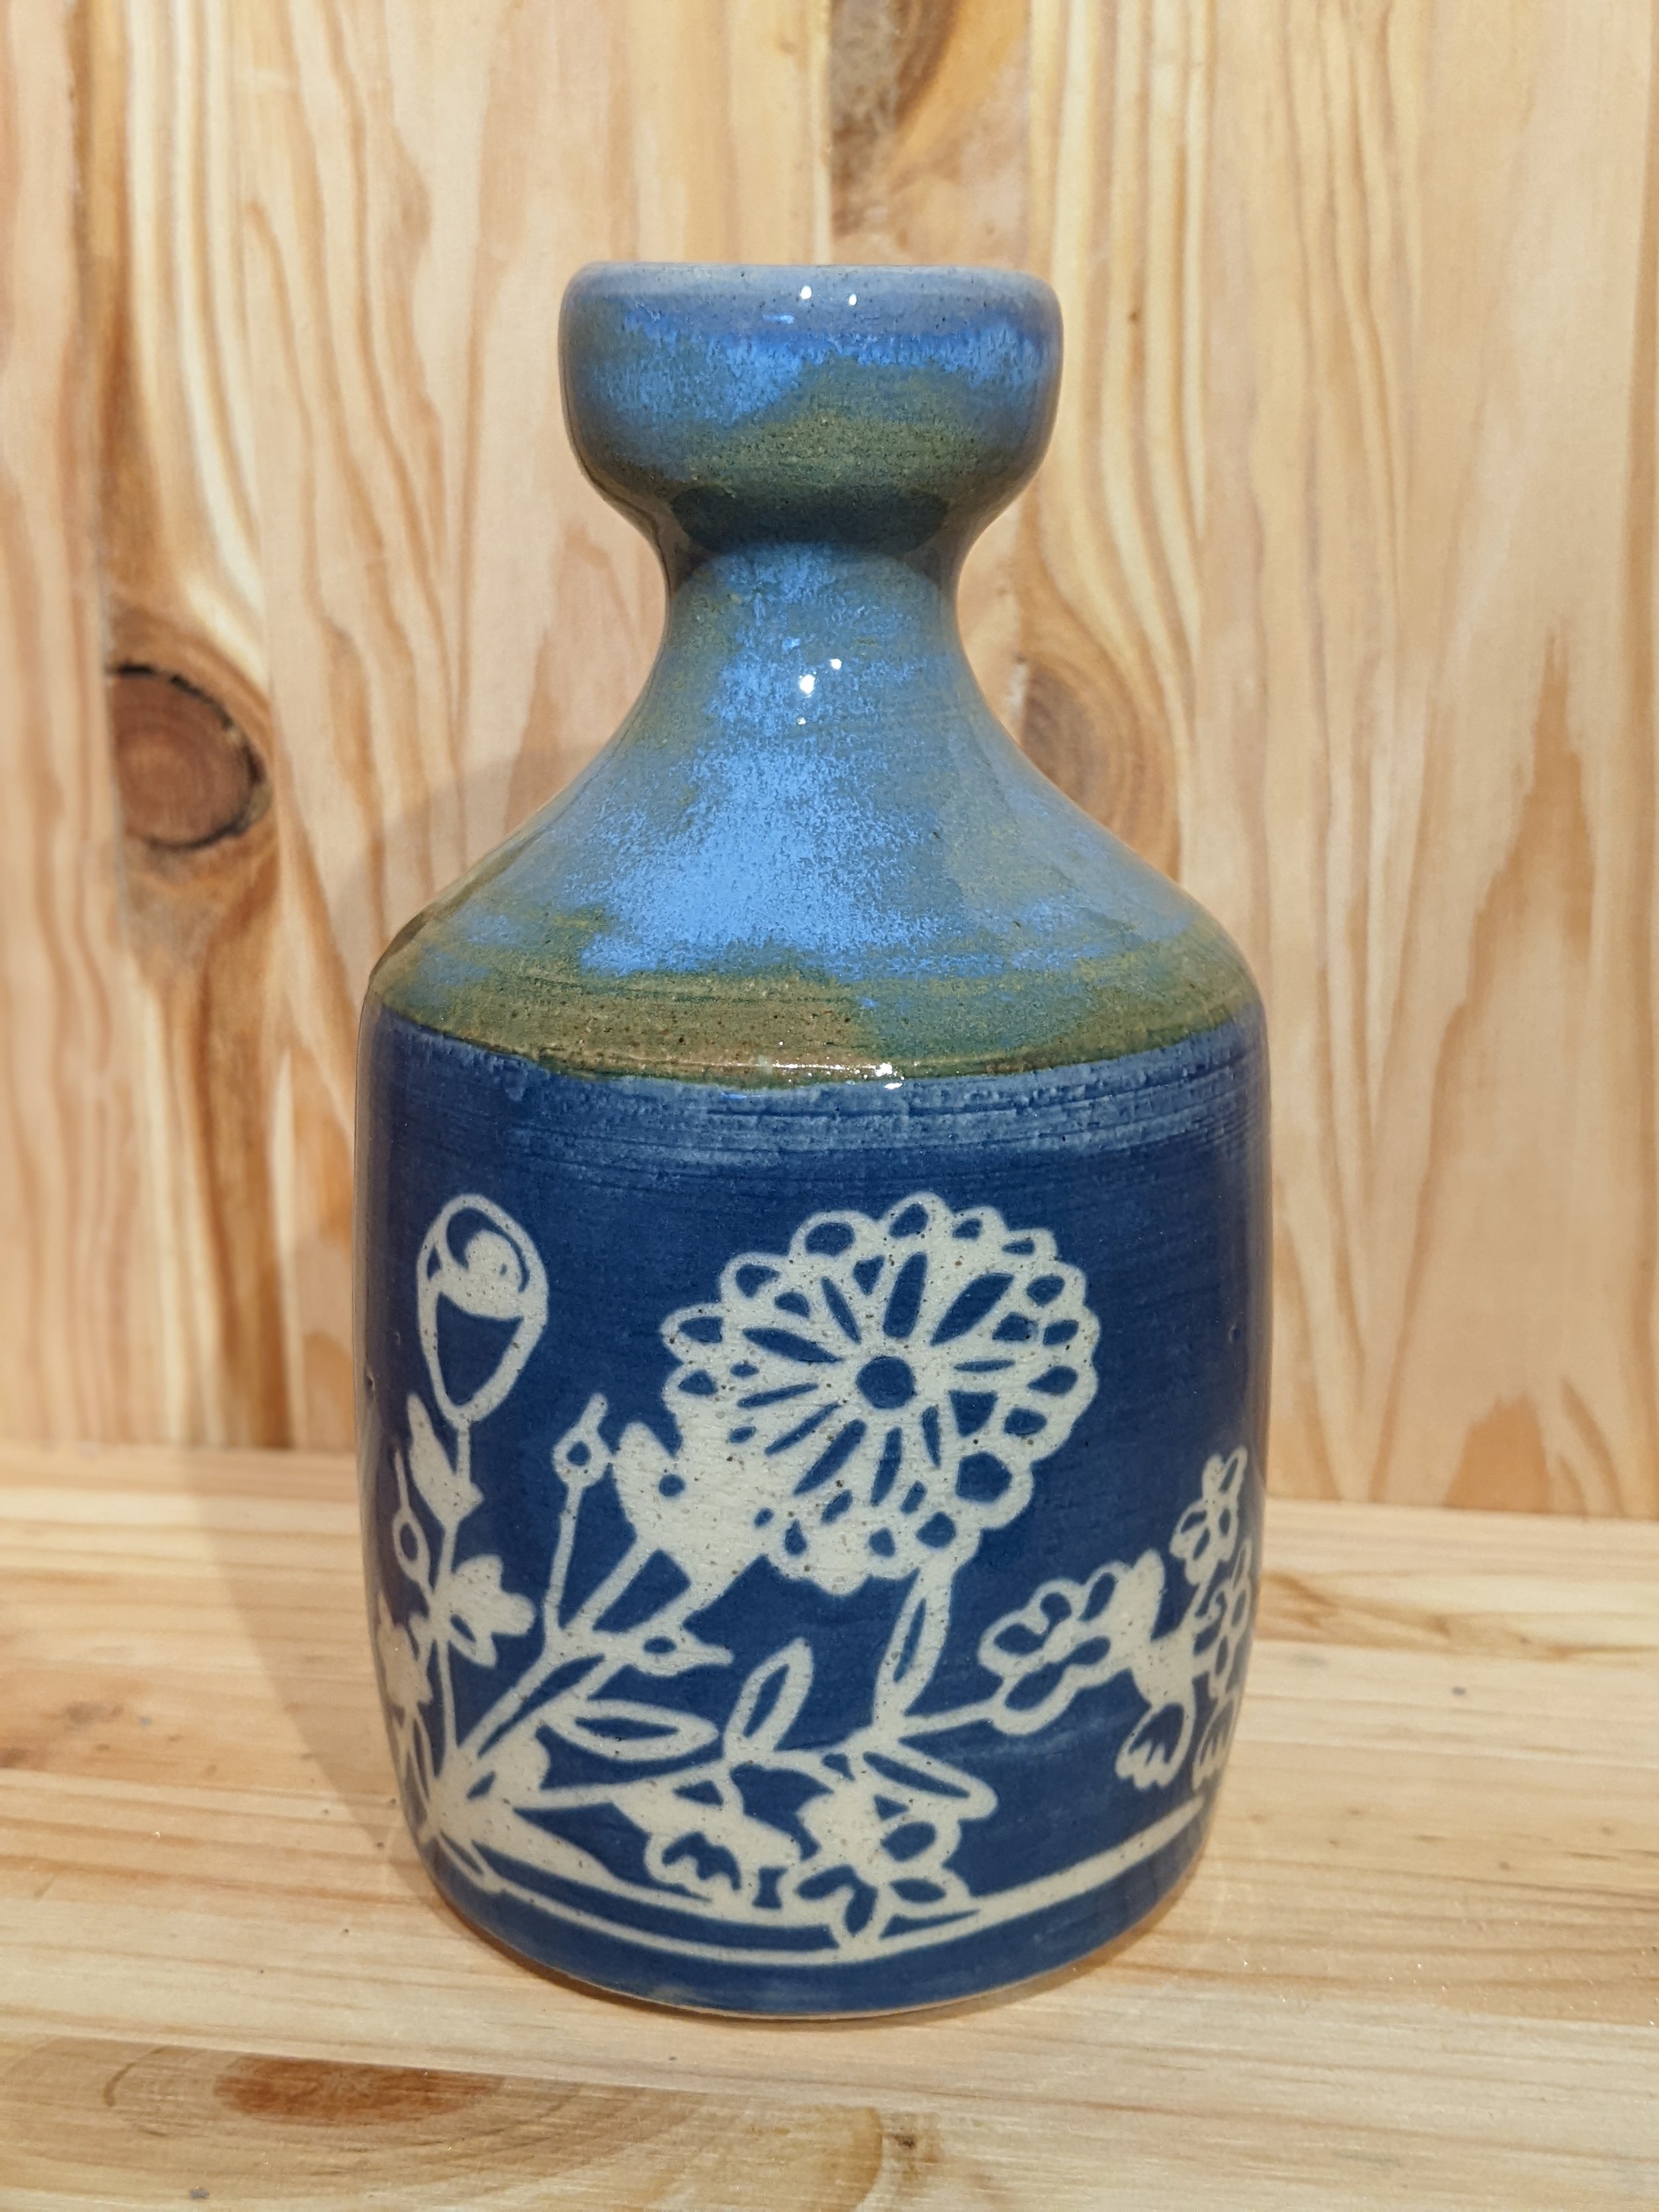
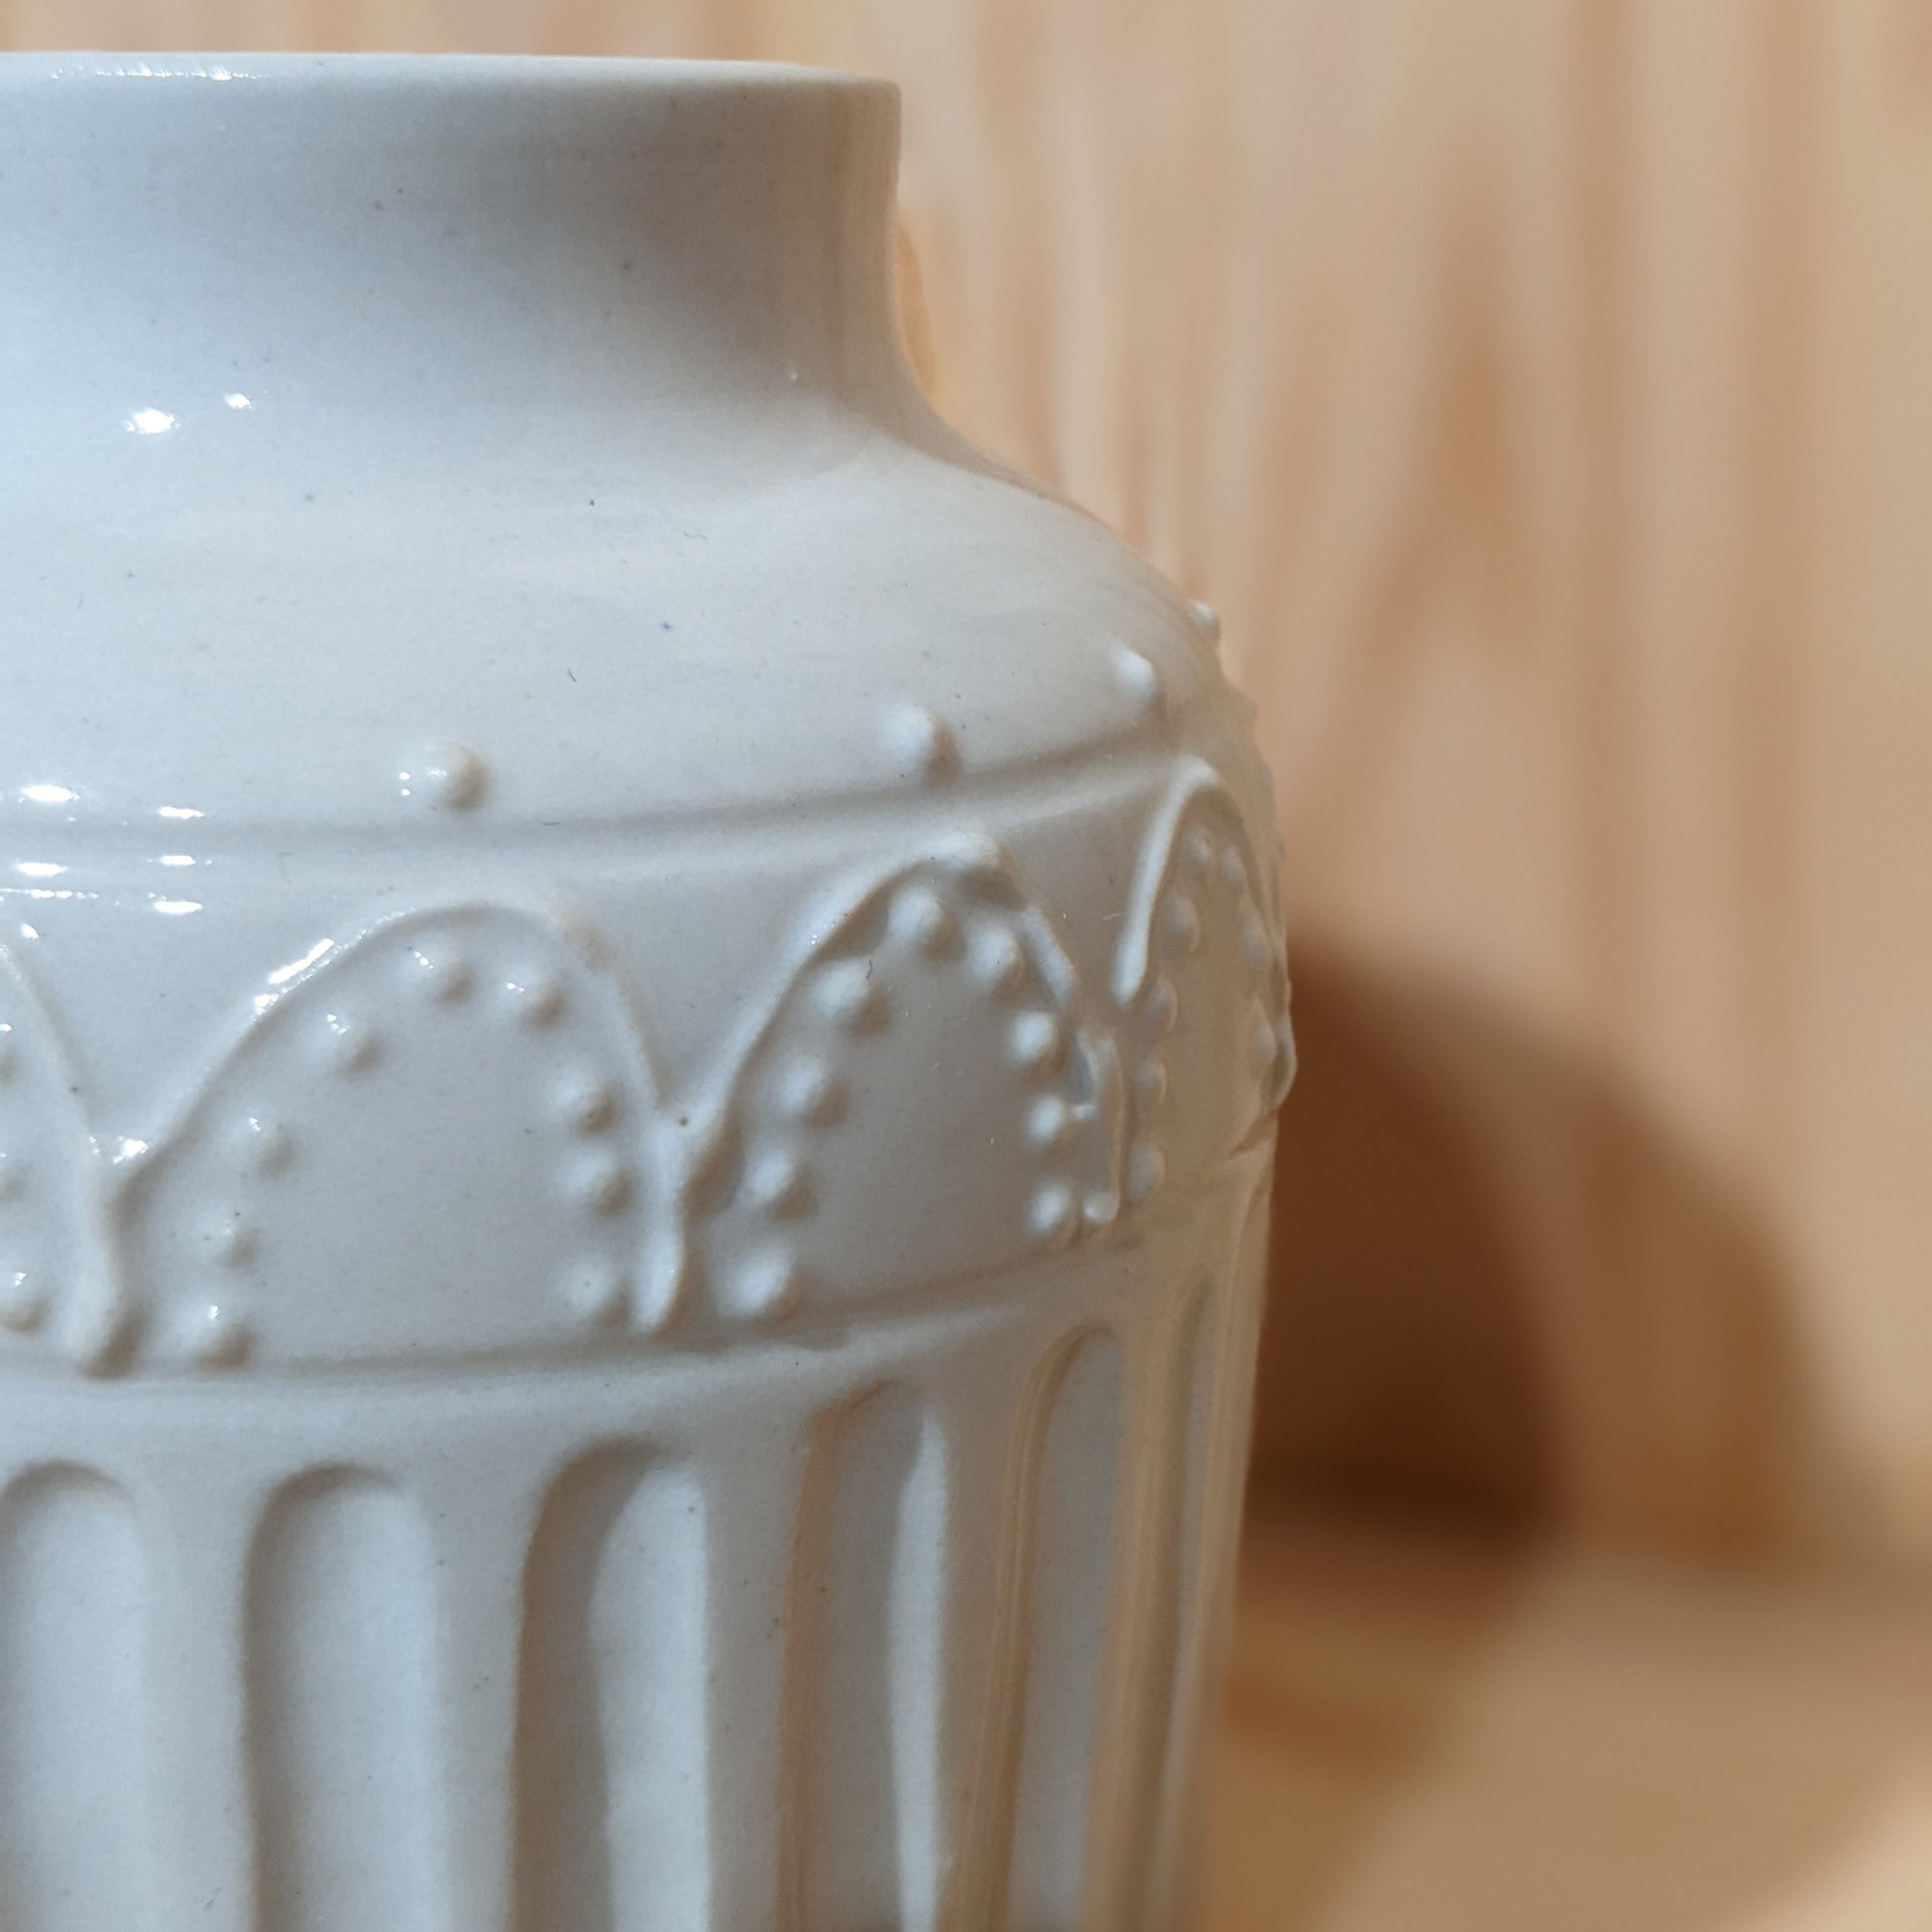
4. Mishima (inlaying)

Carving and color inside the grooves.
This surface design technique is produced by inlaying a slip or underglaze into lines or carvings cut into the clay.
You can see a video of my mishima inlay process here.
5. Paper Resist

Paper snowflakes? Paper scraps? Paper stencils! All you need is paper and a pair of scissors.
To create this decorative layered effect, cut some newsprint or paper (like an old newspaper or a fresh sheet of newsprint) into your desired shape.
Use a spray bottle to lightly mist the paper with clean water so that it is pliable enough to apply onto damp or leather hard greenware.
Cover the paper with colored slip or underglaze. Wait for the slip/underglaze to dry then peel the paper off carefully to reveal your design. Voila!
Want some additional paper resist inspiration? Check out this luscious and detailed layered work by Taylor Sijan.
6. Sgraffito
Interested in carving out designs instead of carving them in?
Sgraffito, from the Italian "sgraffiare," which means "to scratch", is a pottery technique where a design is carved through a surface layer to reveal the clay beneath.
To sgraffito, cover the leather hard piece with colored slip or underglaze. Once the slip/underglaze is dry, plan out your desired design lightly with a blunt pencil (a sharp pencil will carve the clay). No need to worry about the pencil marks; the charcoal will burn off in the kiln.
Finally, carve out your desired design with a carving tool or a ball stylus for more detailed carvings. For a full Sgraffito toolkit, check out this 7-tool set by Xiem. Then, brush off hanging clay bits with a soft paintbrush.
Diamond Core Tools has an excellent detailed step by step tutorial on how to sgraffito pottery.
Want some additional sgraffito inspiration? Check out this beautiful pottery by Netherland potter Inge Burgerhoudt of Kleur Keramiek.
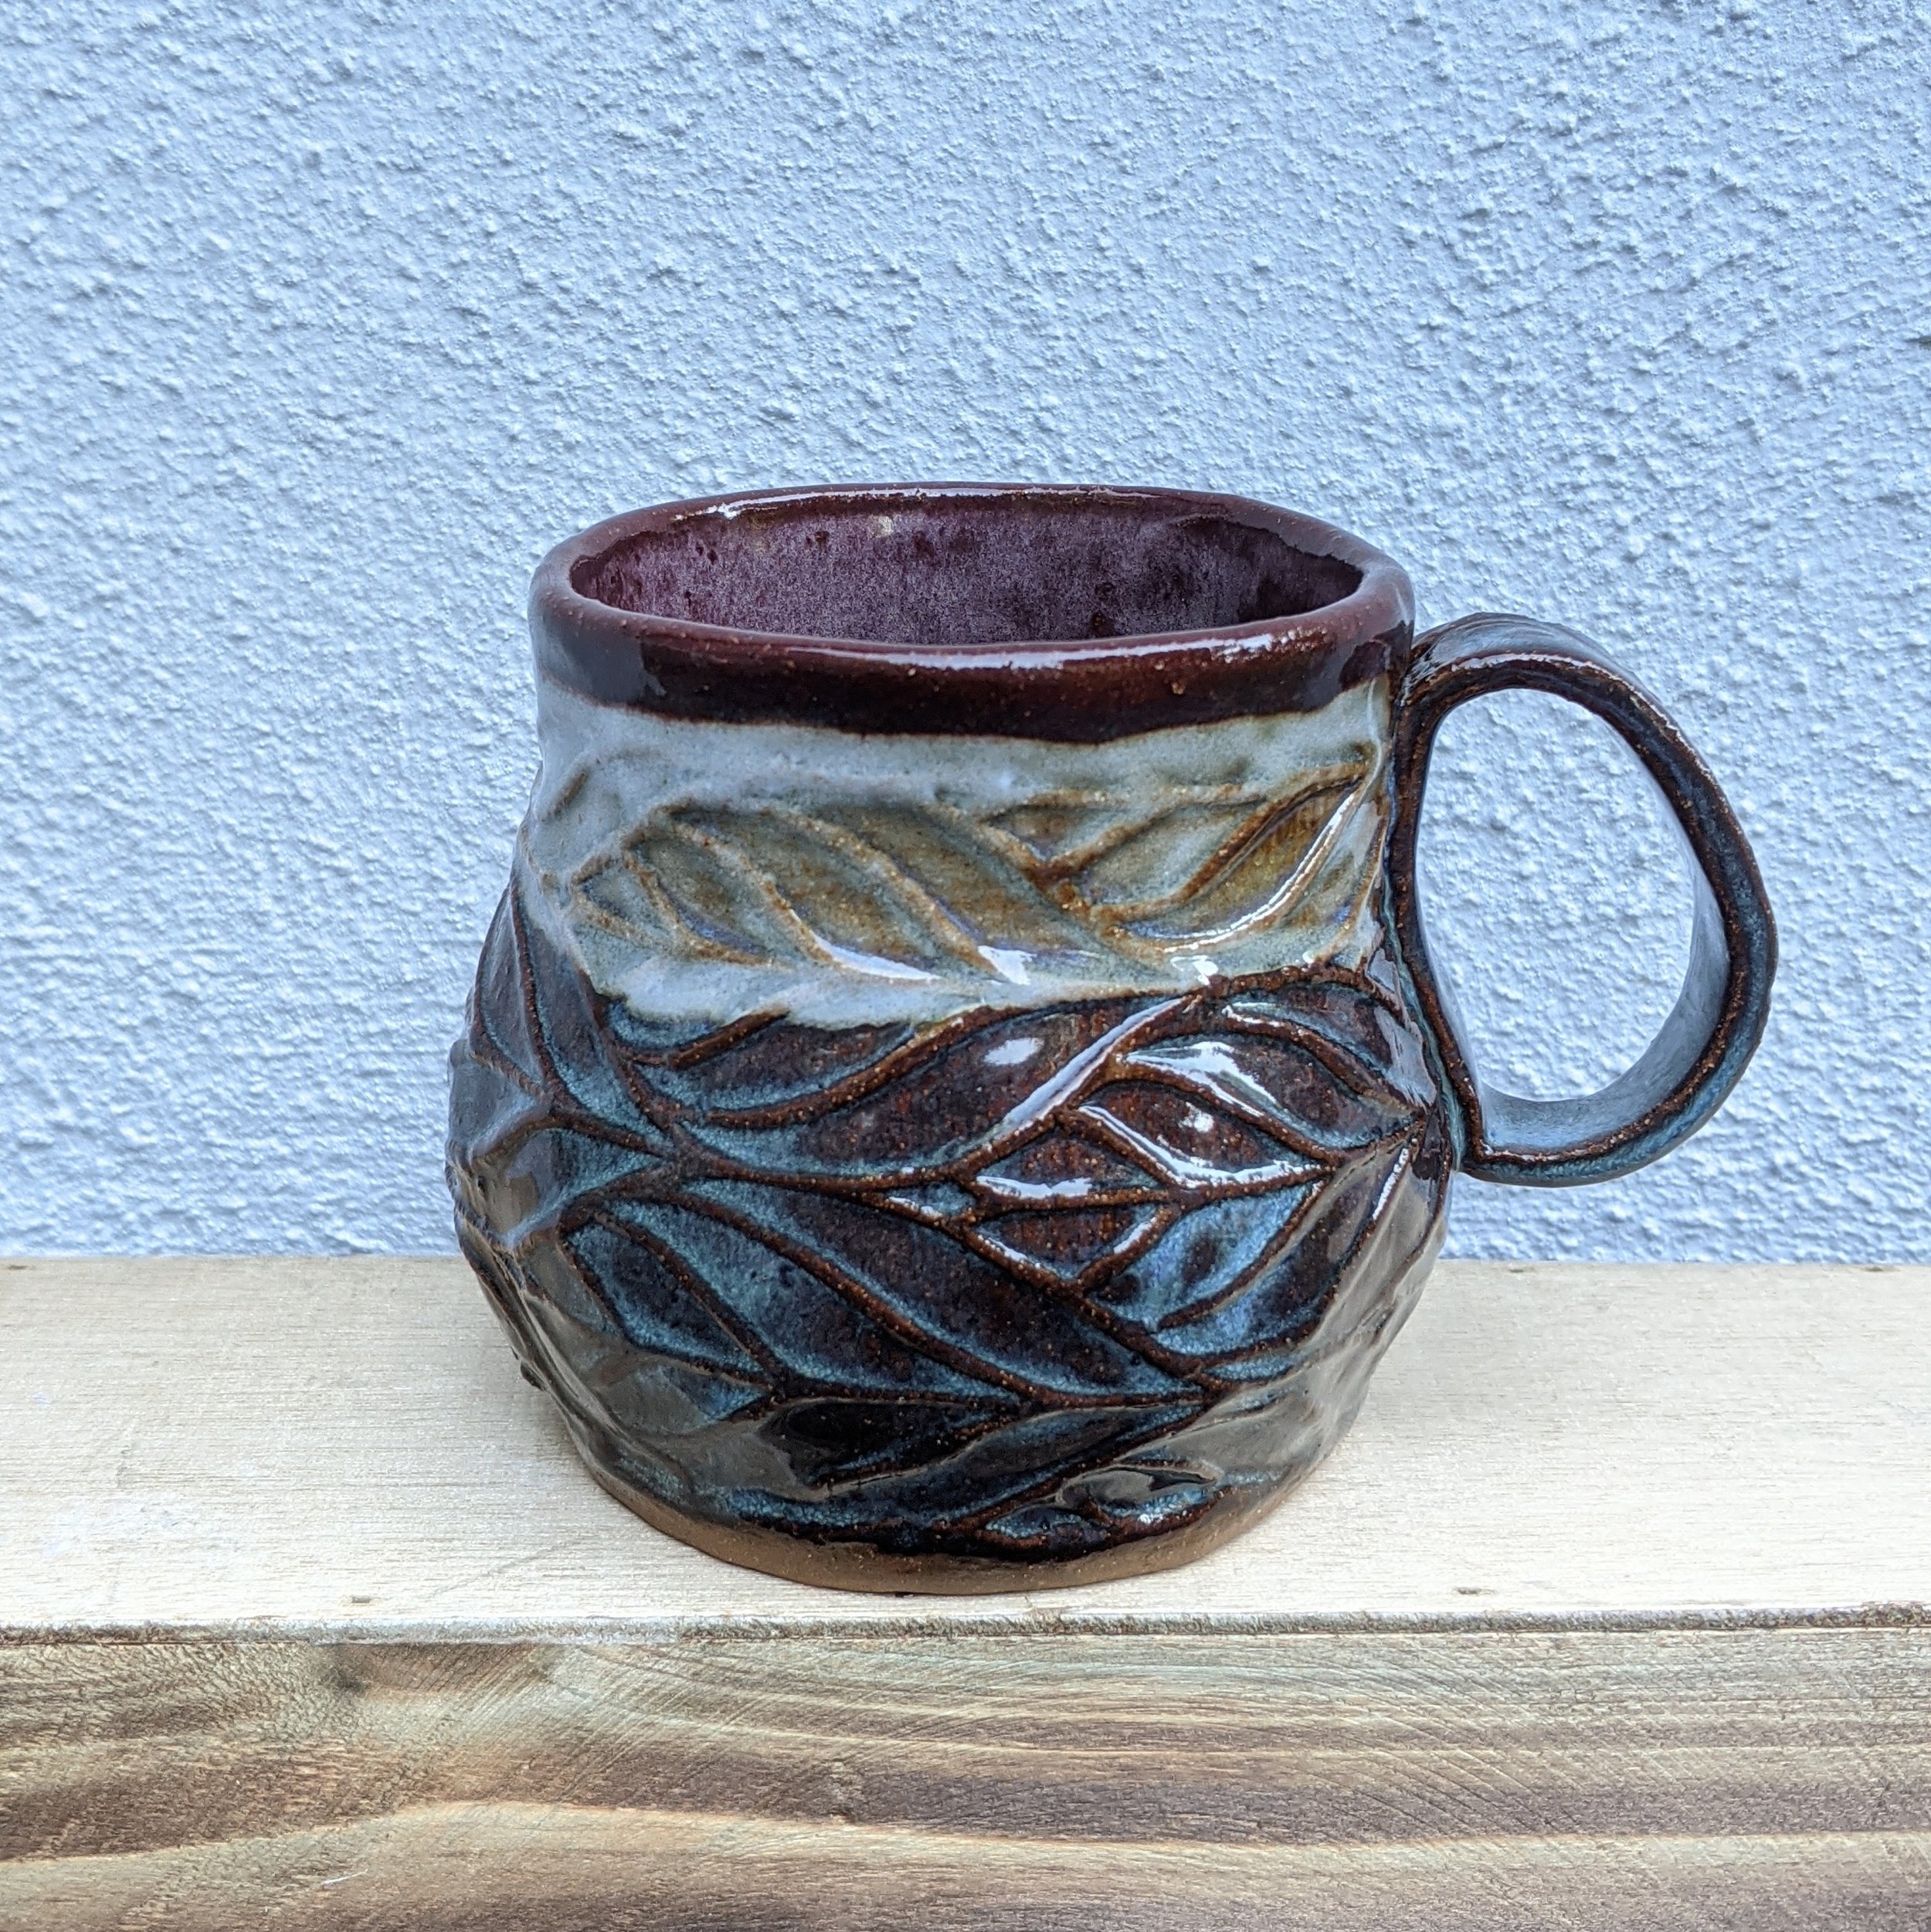
7. Slip Trailing
Want to add (instead of subtract) to create texture? Consider slip trailing!
Slip trailing in pottery uses a squeeze bottle or fine-tipped applicator to apply slip onto damp clay, creating raised designs—see Kristen Kieffer’s work for inspiration!
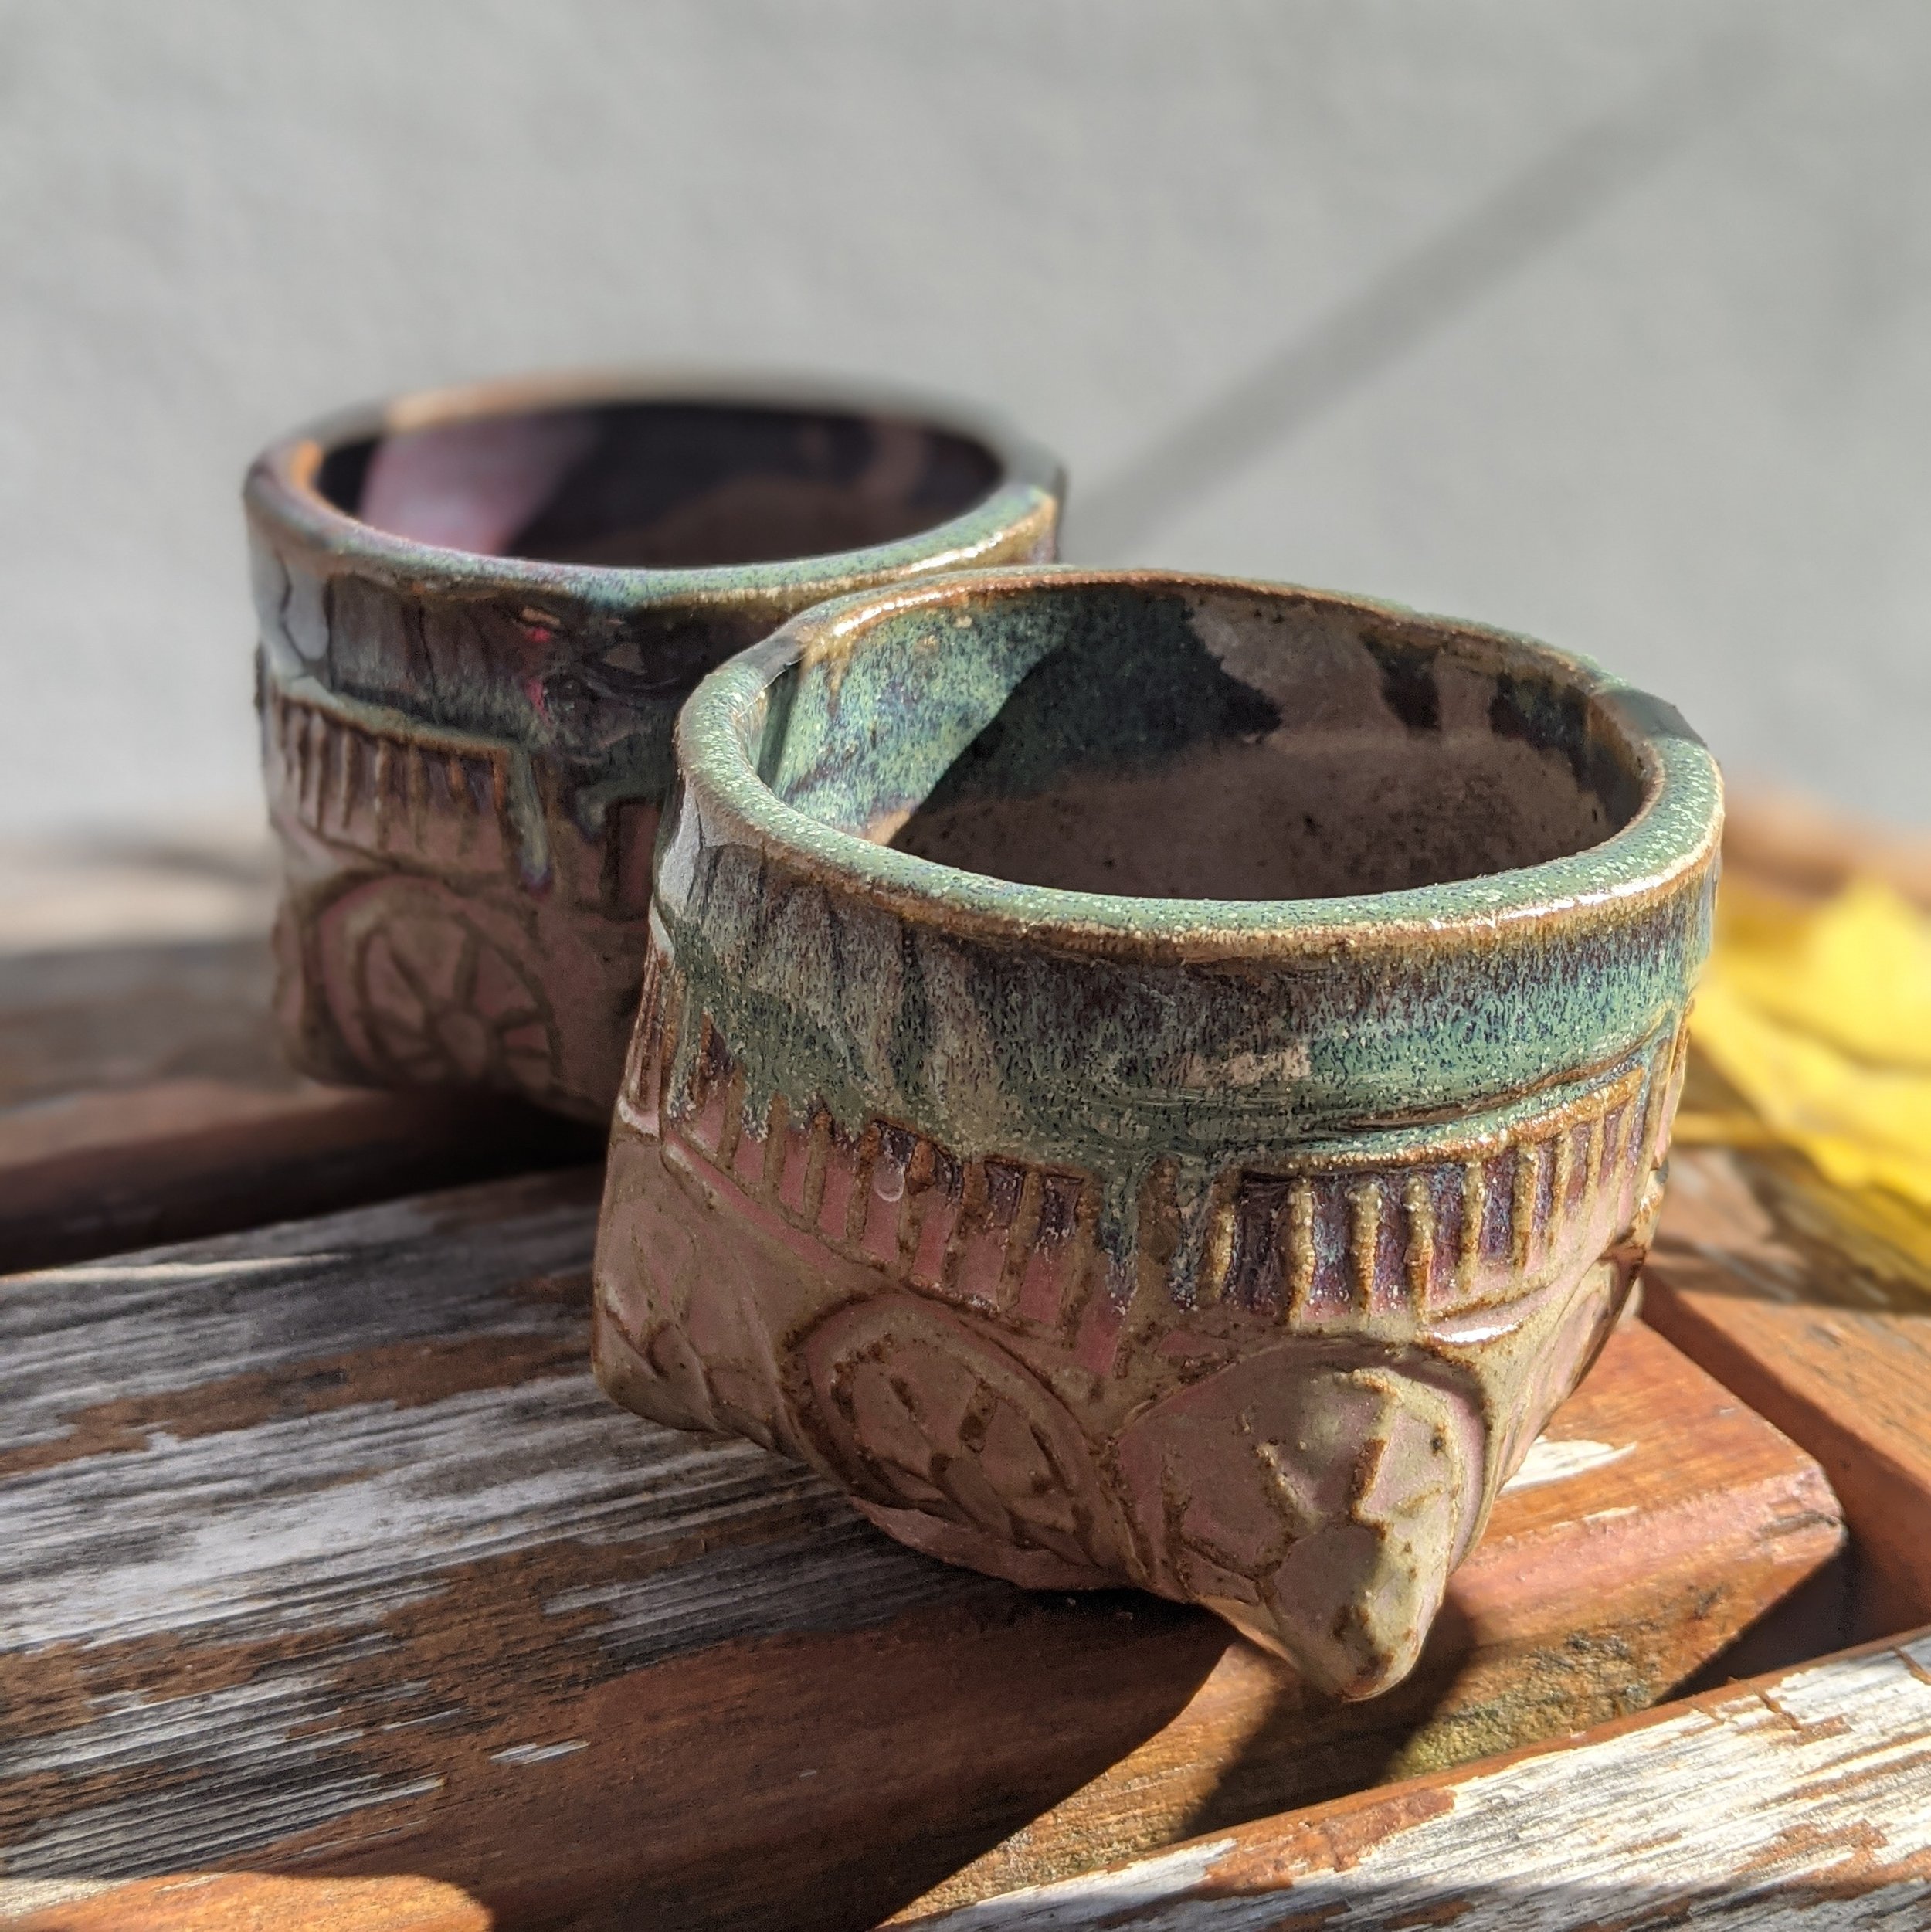
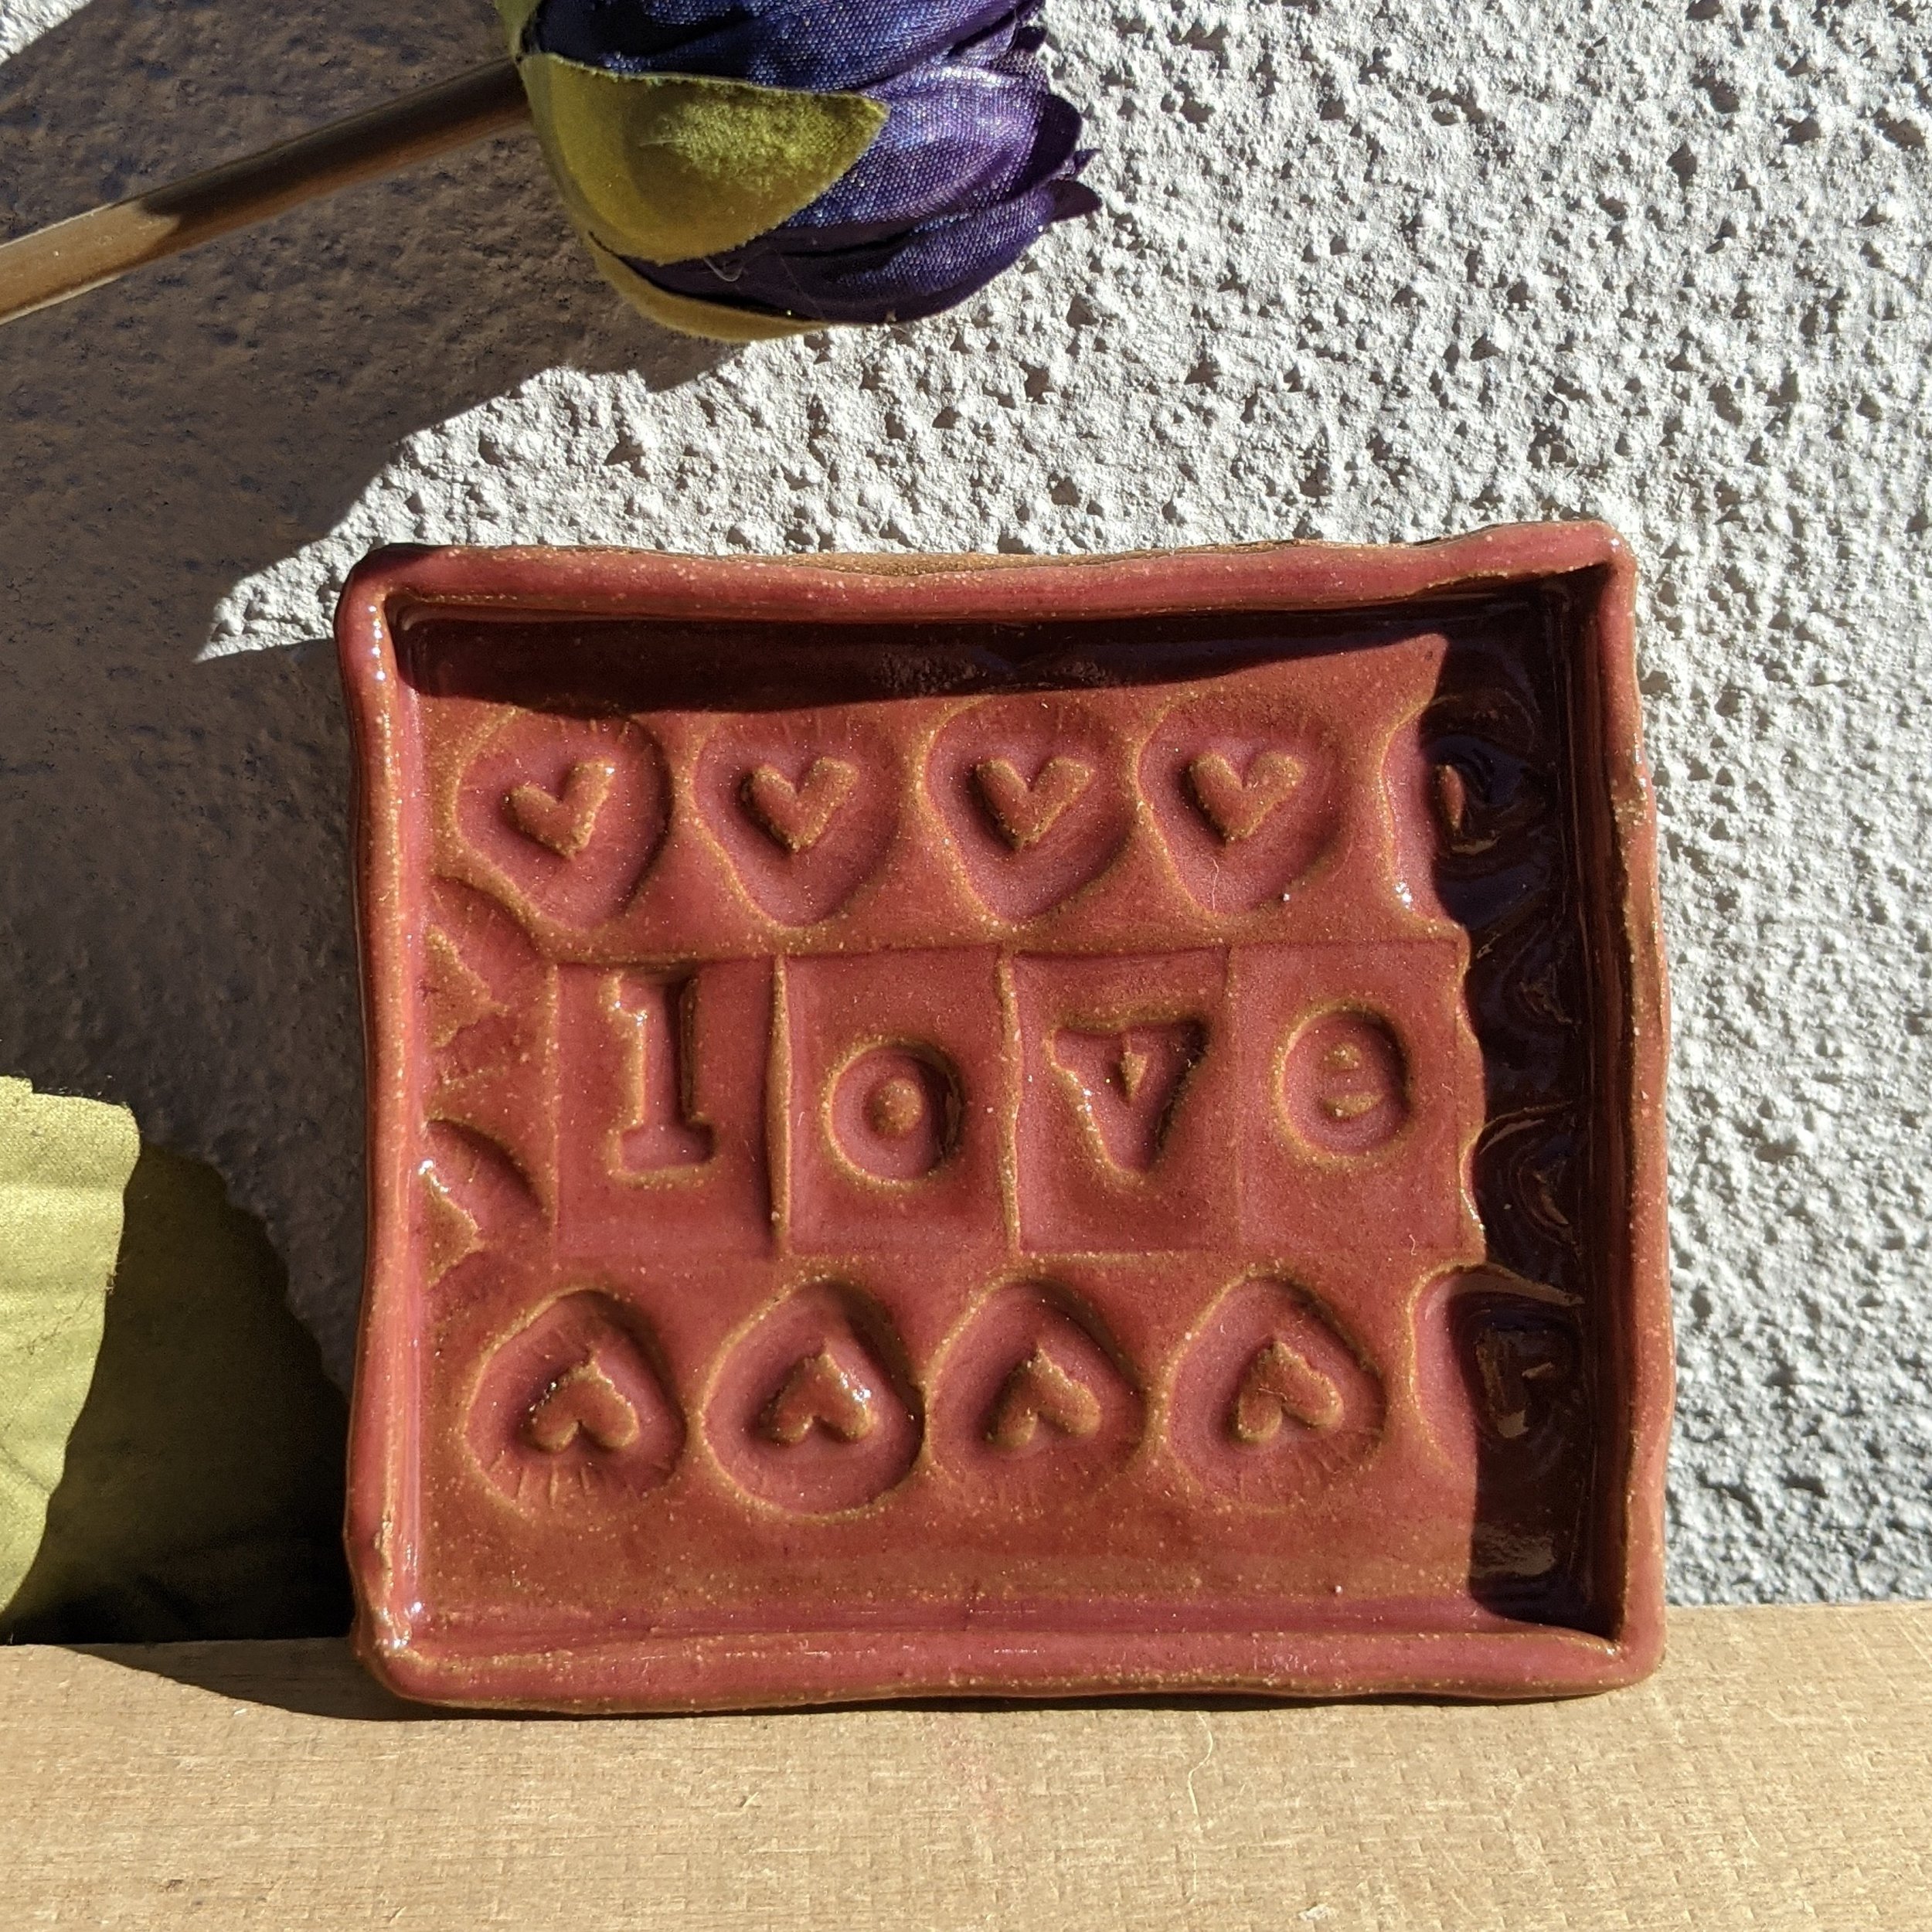
8. Stamping / Imprinting

You can stamp your clay with DIY bisque-fired stamps, letter stamps, custom 3D printed stamps, textured wooden embossing rolling pins, found objects, linocuts (see this video!), wooden stamps, and more!
9. Tape Resist

Like the look of a crisp line on bare clay? A roll of tape might do the trick!
To try taped resist pottery, apply and cut vinyl, masking tape, car detailing tape, or ultra-fine crepe paper tape onto a leather hard clay or bisqueware piece (it can take time!), underglaze or glaze over it, then carefully peel off the tape once the underglaze/glaze is dry—check out Mathew Arnold’s work for inspiration!
10. Underglaze Painting

Going for detail and vibrant colors? Like paint or watercolor, underglazes can produce artful imagery and precise designs.
Underglazing is a decoration technique where pigments are applied to pottery before it is glazed, either at the leather hard, bone dry, or bisque ware stage (I have found most success at the bone dry stage because the underglaze dries quickly and fires onto the piece during the bisque firing).
There are a lot of underglaze options to choose from, so make sure you pick something that is compatible with your clay and glaze firing temperatures. Colors will vary based on which cone you are firing at.
I recommend this set from Mayco and this set from Speedball as good starter sets for mid-fire clay and glazes. If you prefer specific colors, Amaco Lead Free Velvet Underglaze is good, too, like this electric blue one I like to use. You can also try underglaze pencils and chalk crayons for another look!
Want some additional underglaze inspiration? Check out this intricate underglazed work by Françoise Han (I have one of her sgraffito mugs!)
11. Underglaze Transfers

Gaga for patterns? Big fan of fun wallpaper? Underglaze transfers might be your thing.
Your can order underglaze transfer sheets with your preferred design and color (like Elan Transfers or Plum Island Transfers). Rice paper transfers work on soft, medium, leather hard, bone dry and bisque ware. Newsprint transfers work best on medium to leather hard clay. Follow the instructions as outlined on your product package.
Want to create your own underglaze transfer sheets? You can! Use a squeeze bottle (like this one from Blick) or a brush to design your pattern onto a sheet of newsprint (like these from Blick). Check out this demo on Youtube by Victoria Nicole Art.
12. Water Etching

Sometimes you may just want to wipe the decorative surfaces into view…and keep them subtle.
Water etching in pottery involves using water to erode the surface of clay, creating texture before firing.
To water etch, first paint your desired design onto a leather hard or bone dry piece using wax resist. The wax resist will adhere to the pottery and “resist” the water that will be used to etch around the wax design.
To etch, once the wax is dry, use a damp sponge and gently and repeatedly wipe the surface of the piece. This process will remove a layer of clay off the surface, leaving a subtle raised shelf where the waxed design remains. The more you wipe, the deeper the etching. The wax will then burn off during the bisque firing.
You can find a video tutorial on water etching by Amaco here and a series of step by step photos of the process by Gary Jackson of Fire When Ready Pottery.
13. Wax Resist

Looking for a more freehand decorative option that doesn’t involve carving or stencils like paper or tape or vinyl? Try wax!
Wax resist in pottery involves applying wax, like this one from Amaco, to certain areas of the ceramic surface to prevent glaze from adhering, resulting in contrasting areas of color or texture after firing.
Wax is typically brushed onto the bisque-fired pottery before glazing. During the glaze firing, the wax burns away, leaving behind the desired pattern or design where the glaze couldn't adhere.
On this featured bowl, the wax was applied in a fernlike motif onto a bisque-fired piece that was underglazed with Mayco Marine Blue underglaze.
BONUS: Glitter Resin!
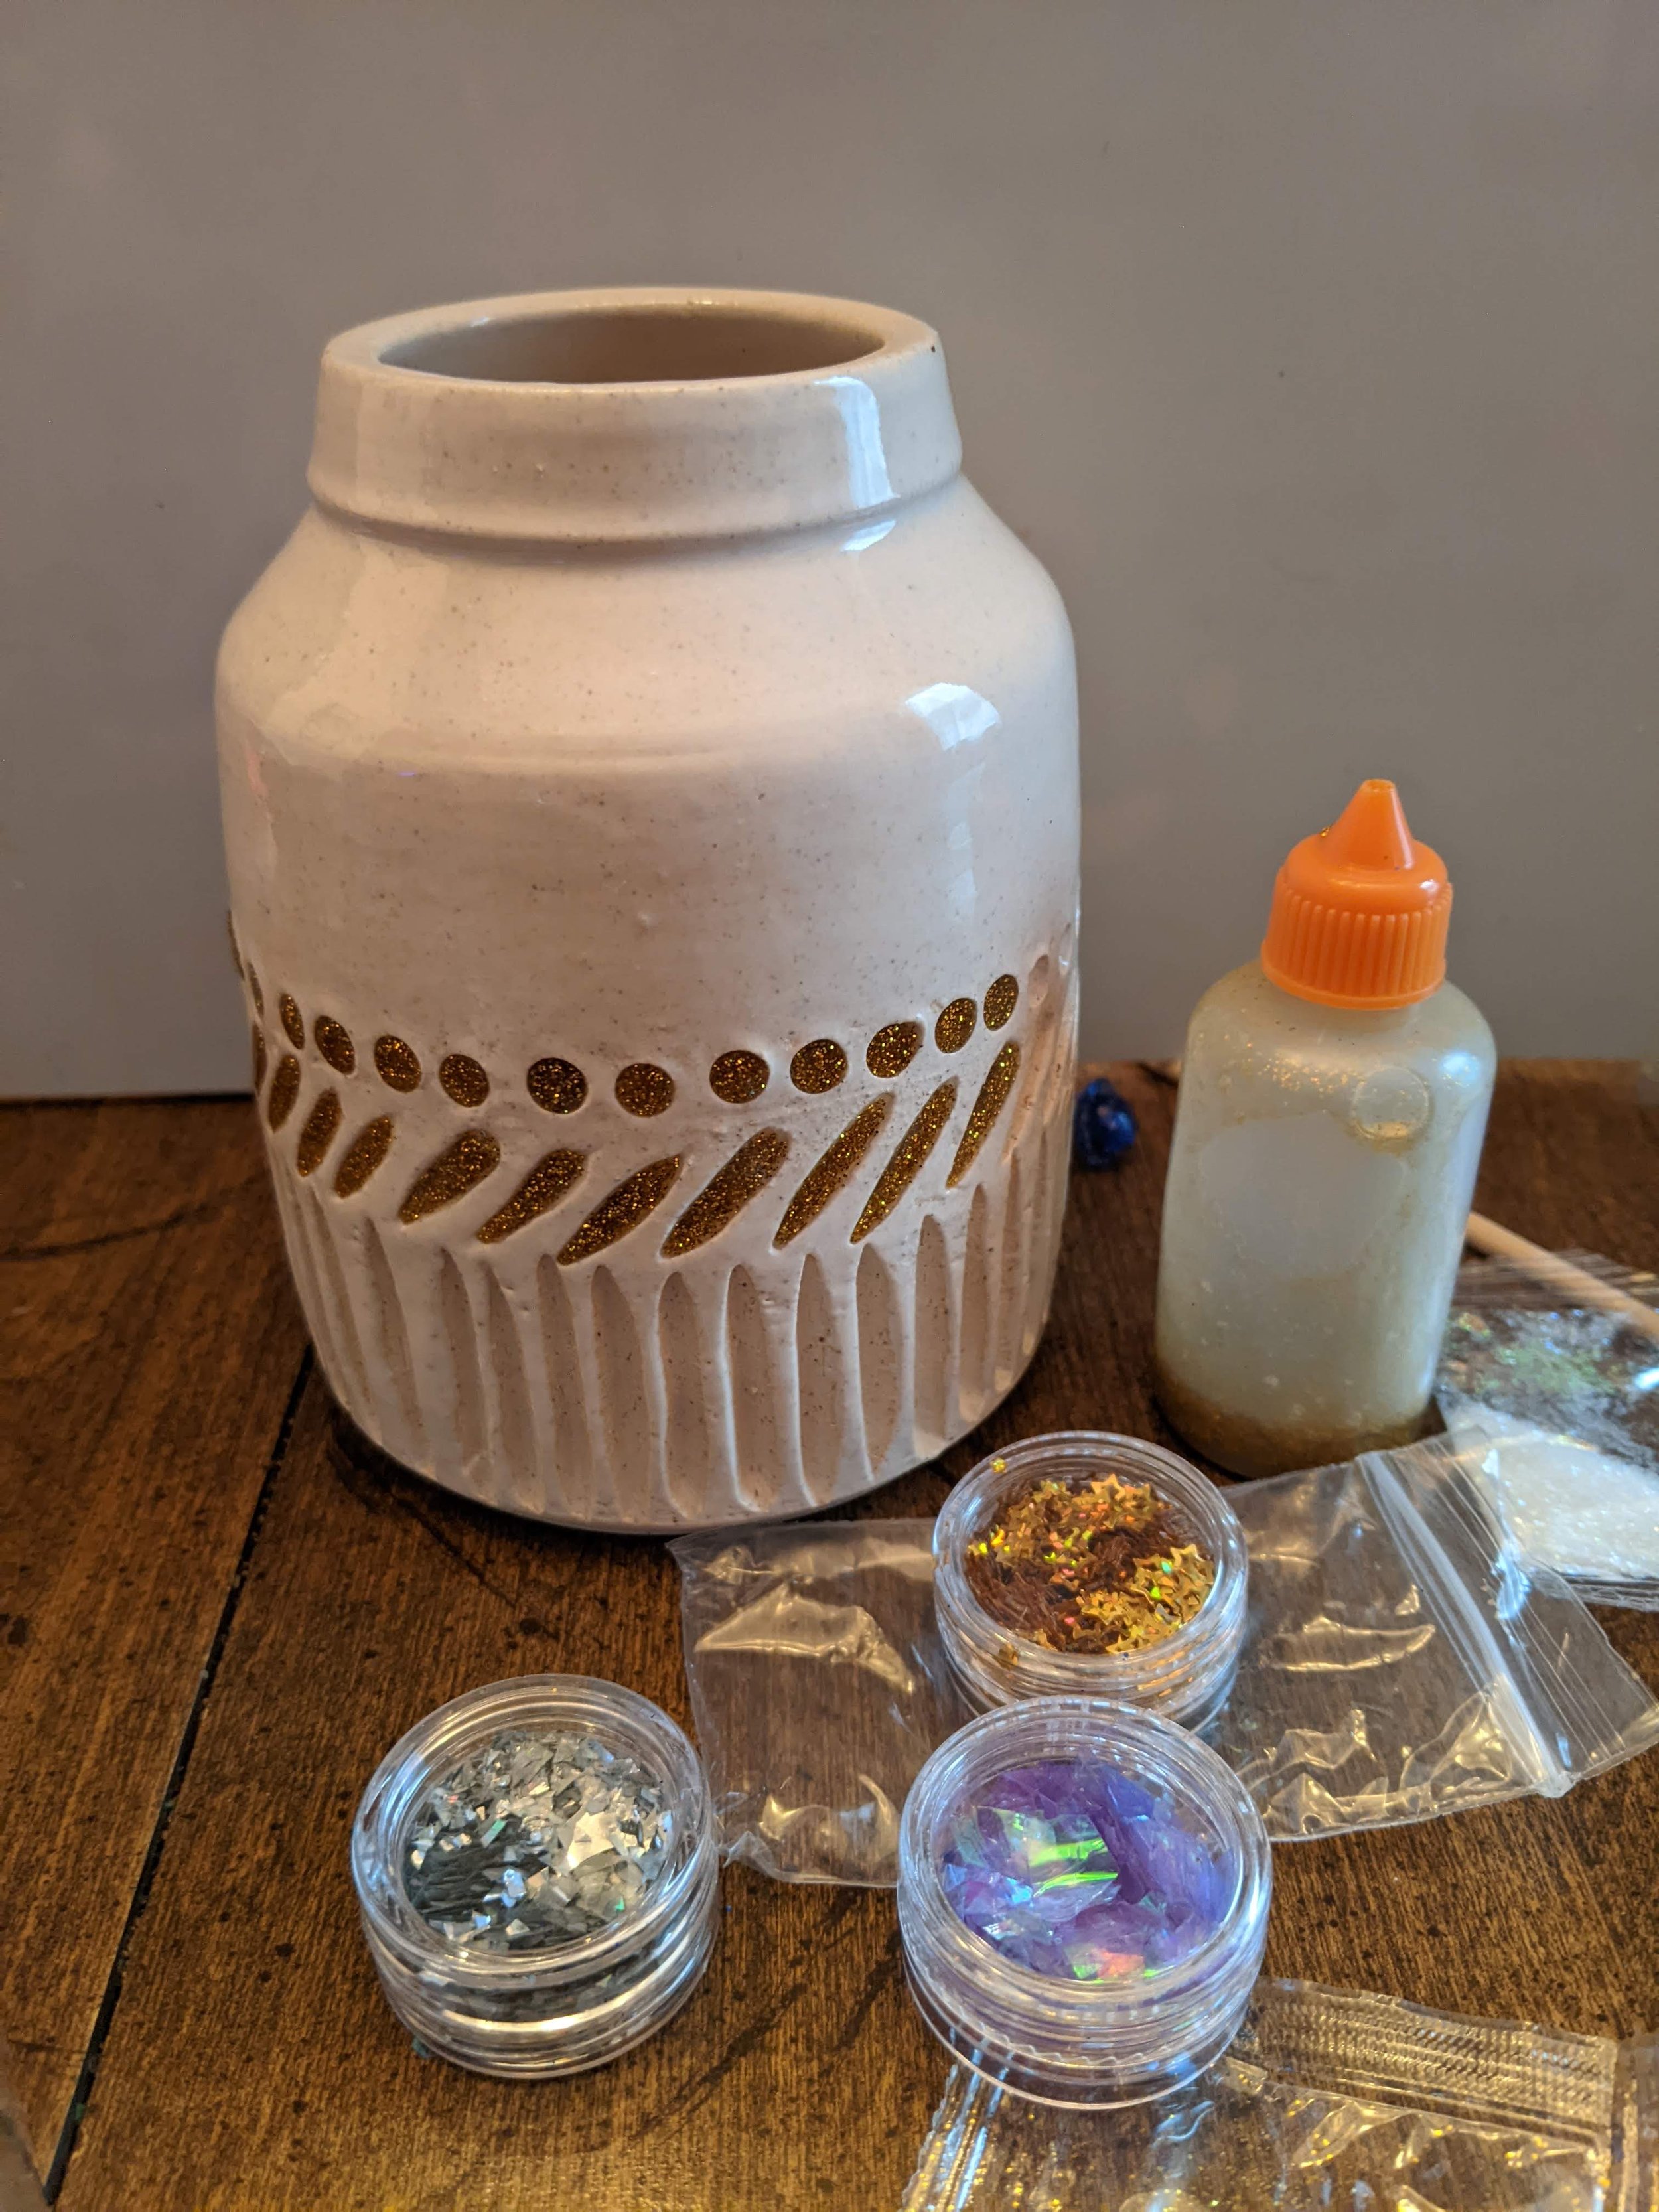
A magical filler for your clay carvings? Yes, please!
After your piece has been glaze fired, you can fill in carvings with UV resin!
On round vertical surfaces, I recommend UV resin because it cures quickly. You can get a UV resin starter kit here. You can buy colored UV resin like this red one, or make your resin colorful with pigments or glittery with ultra fine glitter.
You can even make your pottery glow in the dark by using glow in the dark glitter!
Note: This blog is not sponsored. However, as a Blick.com and Amazon associate, I do earn from qualifying purchases. As an artist, every bit of support counts!