

Potter to Potter: Crepe Tape Resist Pottery Process with Alta Ceramics
About the Potter to Potter Series
Welcome to the Potter to Potter Series, a series of blog posts where hobby and/or professional potters discuss their favorite techniques and shed some clay wisdom in the spirit of sharing and community.
Meet Allie Karthaus of Alta Ceramics
An on and off potter for the past 20 years, when Allie is not playing with clay, she is “spending time adventuring with her family and running a psychotherapy practice.” Allie shares that her work in ceramics “offers her a creative outlet and contrast to the busy day to day of being a working mom.”
What is Crepe Tape Resist on Pottery?

Crepe tape resist is a simple but time consuming pottery technique for creating crisp lines, bold patterns, and graphic surfaces with underglaze or glaze.
I’ve discussed the technique briefly here. In this post, Allie of Alta Ceramics shares the exact materials, glaze tips, and step-by-step tape resist process she uses in her ceramic work.
Materials Needed for Crepe Tape Resist Pottery
Crepe tape! Crepe tape is similar to masking tape but more papery and flexible, allowing it to bend and conform to curves and corners on ceramic forms.
The 1/32 tape lends itself well to squiggle lines where the 1/16 works better for defined lines.
Glaze of choice.
Bisque fired piece
Allie’s Glaze Choice Tips for Clean Tape Resist Lines
To get crisp, high-contrast results with tape resist, glaze choice matters.
Use opaque, solid-colored glazes so the tape lines really pop.
Choose stable glazes that work well with your clay body.
Avoid glazes with a lot of flux, which can blur or bleed under the tape.
Allie’s go-to glazes for her Laguna 65 or Standard 181 clay bodies:
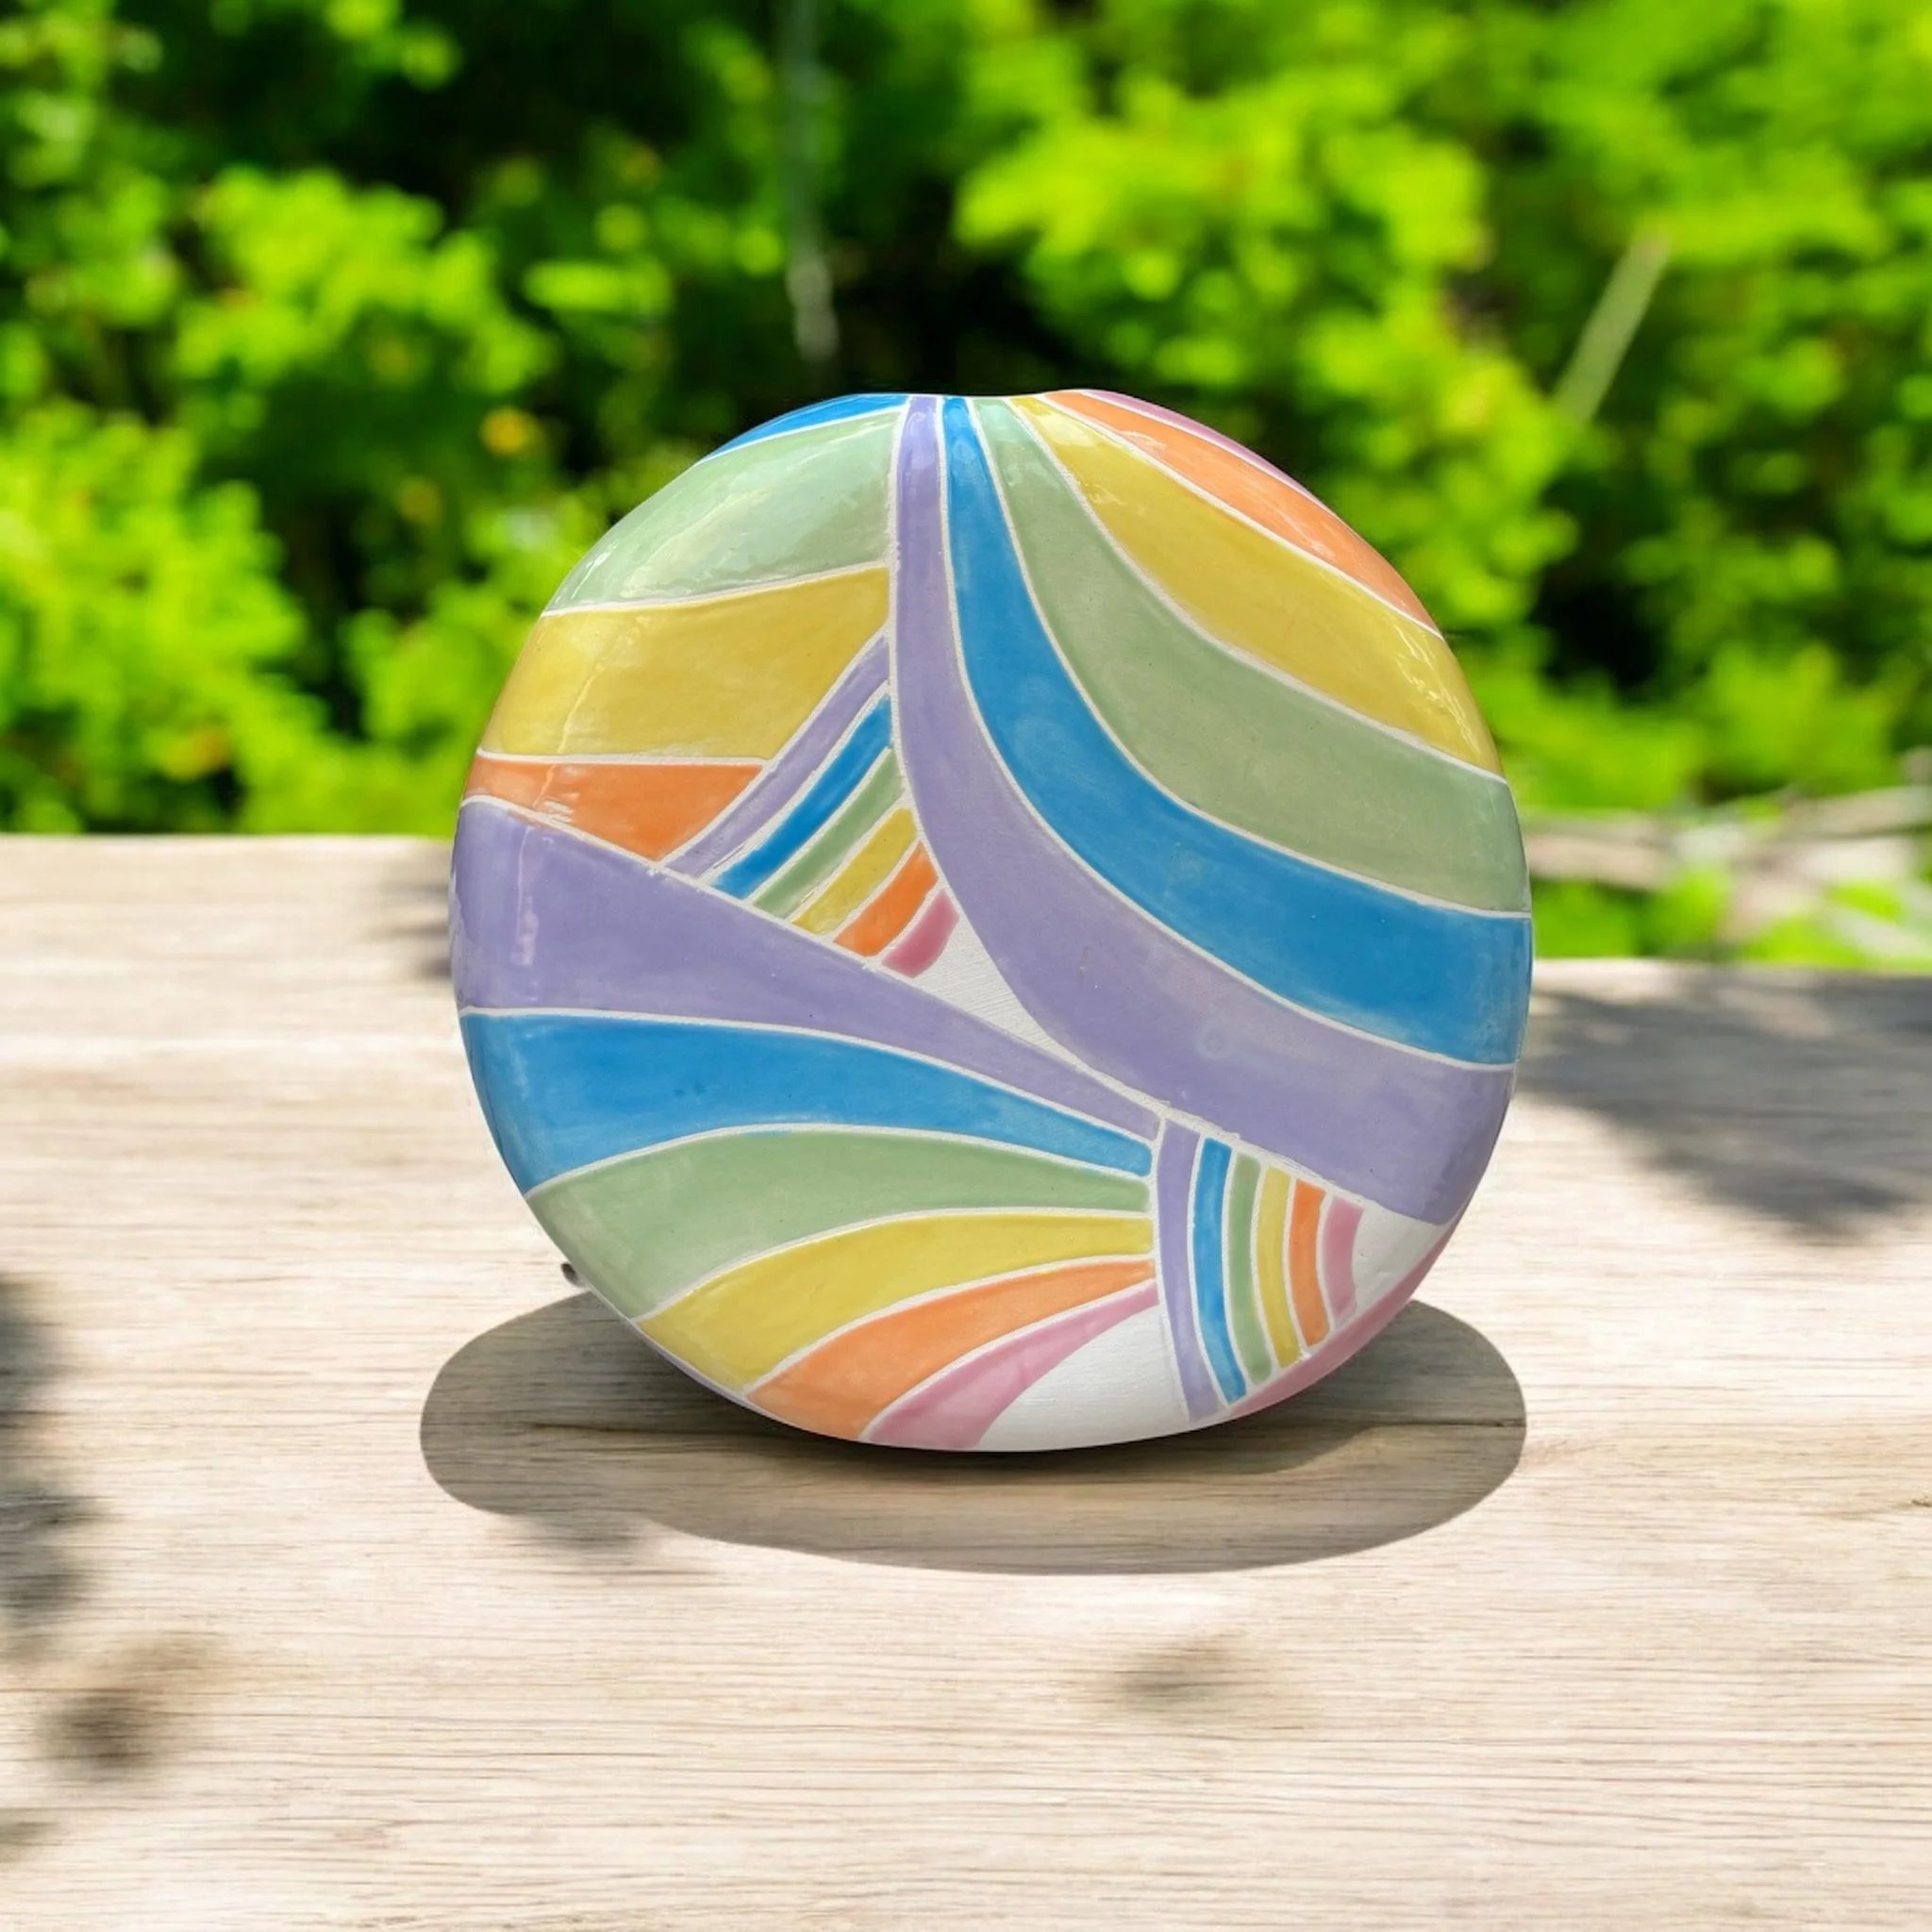
Alta Ceramics Pastel Pride Vase
Good Clay Bodies for Crepe Tape Resist
Allie shares that the tape resist process works best on a smooth clay body, like Laguna 65 or Standard 181.
It can work on Laguna Speckled Buff (403), but needs to be sanded very smooth before applying the tape. Any rough texture or speckles can prevent the tape from adhering properly, allowing glaze to seep underneath.
Allie’s Crepe Tape Resist Pottery Process (Step-by-Step)
1. Apply the Tape
Place the tape on your bisque-fired piece in the pattern you like. Take your time here — clean placement makes a big difference in the final result.
2. Secure the Tape
Use a rubber brayer or roller to firmly press the tape onto the bisque surface.
You can use clean fingers, but avoid dragging across the tape.
Press gently along the tape, not perpendicular to it.
The goal is full contact between tape and bisqueware.
3. Glaze the Piece
Apply glaze over the taped surface.
For brush-on glazes, use 2–3 coats, depending on glaze and clay body.
Aim for full opacity without applying so much glaze that it crawls or runs.
How to Pull Tape Off Glazed Pottery
This step is satisfying to watch — and timing matters.
1. Let the Glaze Dry Completely
Allie typically waits a full day to be safe.
2. Lightly Mist with Water
Spray the surface with a very fine mist of water.
The piece should not be wet, just slightly tacky.
The light misting helps prevent glaze from lifting with the tape.
3. Pull the Tape
Slowly pull the tape away and enjoy the reveal.
4. Touch Up if Needed
Once the piece is completely dry again:
Clean up glaze bleed with a needle tool or a detailing tool
Dab glaze back on if any spots popped off
Explore Alta Ceramics’s Work
As can be seen throughout her body of work, Allie’s pottery reflects her “love for craftsmanship and design, blending functionality with beauty.”
Shop Allie’s collection here, and follow Alta Ceramics on Instagram @altaceramix.
This post was written by Meesh Pottery in collaboration with Allie Karthaus.
As an Utrecht, Blick, and Amazon associate, Meesh Pottery earns from qualifying purchases. As an independent artist, every bit of support counts! Meesh Pottery also donates 10% of profits to non-profits that serve BIPOC and LGBTQ+ communities in need. Learn more.